1. Navigate to the page you are looking to edit.
2. Click “Edit with Elementor”

3. To edit text, images, buttons, and most elements on the page, click the pencil icon next to the element you want to modify. This will open the editing options in the Elementor sidebar, where you can adjust content, styling, and other settings specific to that element.

4. To edit an element, use the text field in the left column after clicking the pencil icon. This field allows you to directly modify the text and preview the changes live on the page.

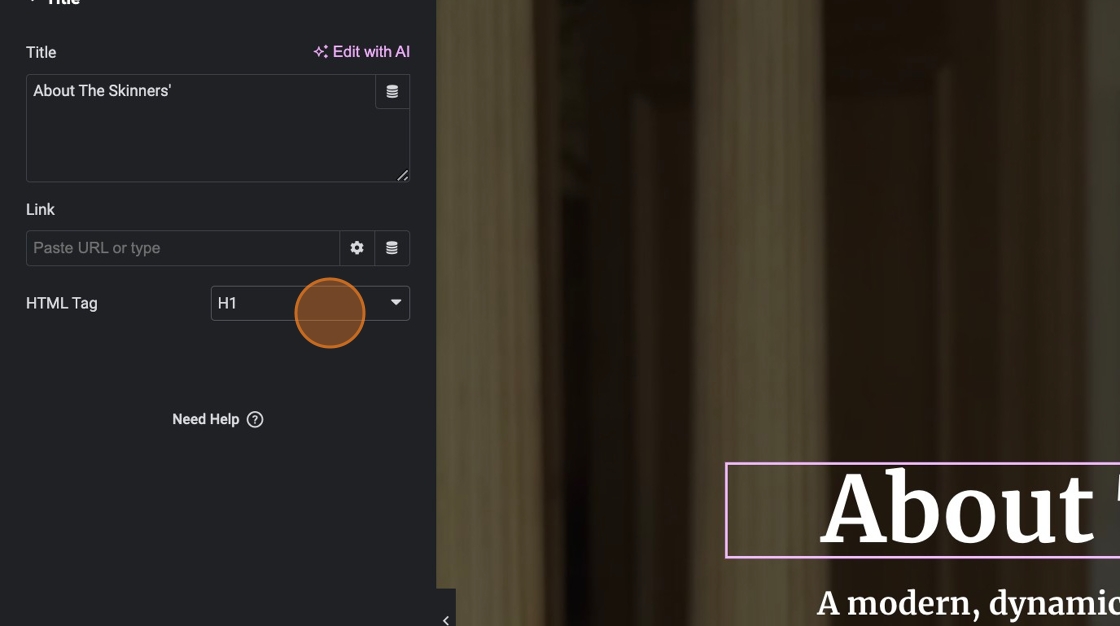
5. You can adjust the size of the header using this option but keep consistency throughout the site.
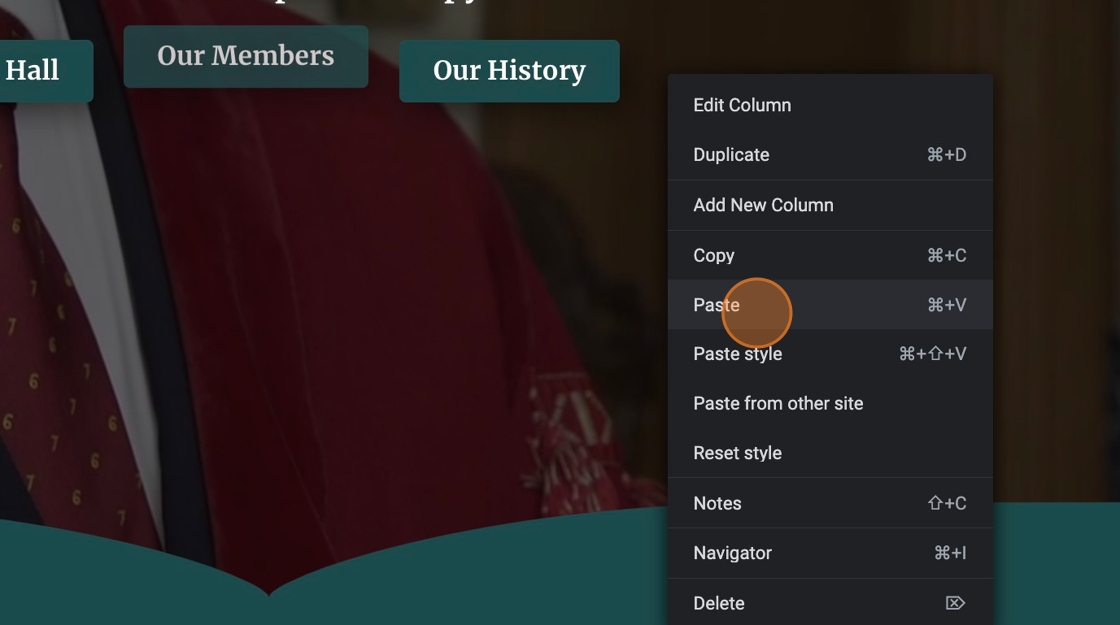
6. One powerful feature in Elementor is the ability to copy and paste elements. This ensures consistency in design and helps maintain alignment with your branding guidelines across multiple sections of the website.

7. Right click the pencil icon.

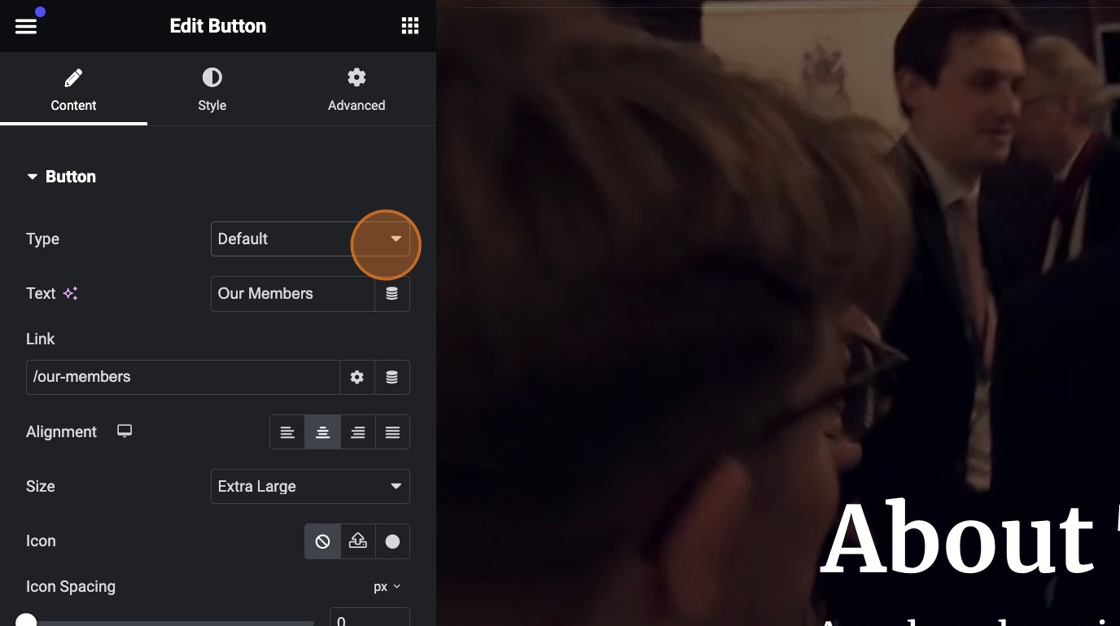
8. Click this dropdown.
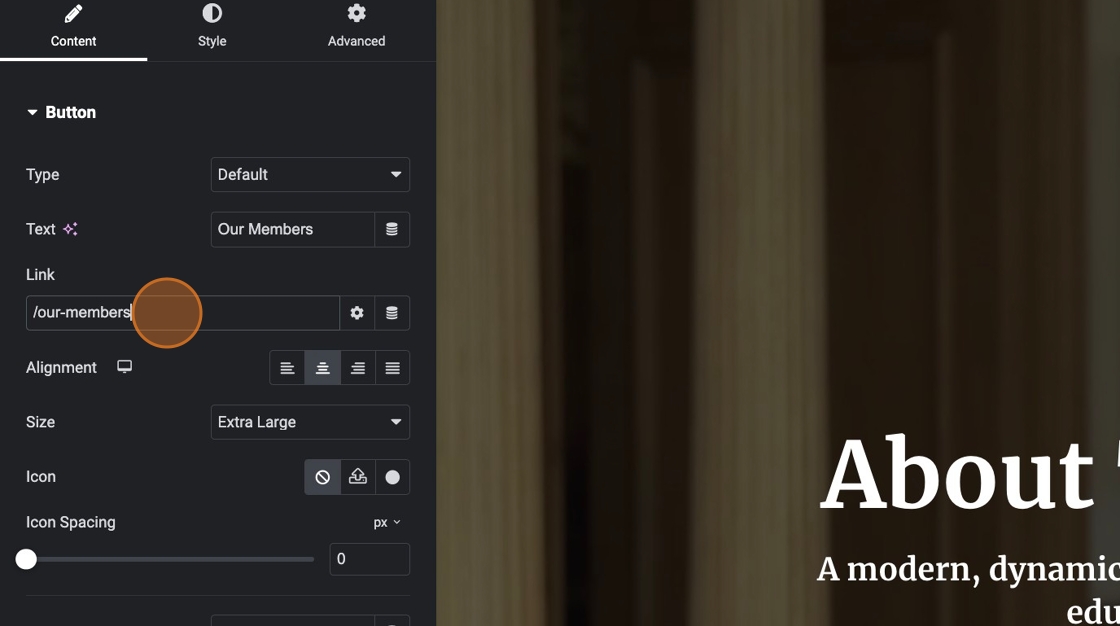
9. Click the “Link” field.
10. Click here.

11. Click the “Open in new window” field.

12. One powerful feature in Elementor is the ability to copy and paste elements. This ensures consistency in design and helps maintain alignment with your branding guidelines across multiple sections of the website. Right click the pencil icon.

13. Copy the element and paste it in a new location.
14. You can hold the pencil icon to drag and drop the element – look out for a pink strip to highlight where the element is going to land.

15. To see what your changes will look like on other devices. Click on “Responsive Mode” in the bottom left corner.

16. Select the device you’d like to view the page in.

17. To preview your changes click the eye icon in the bottom left.

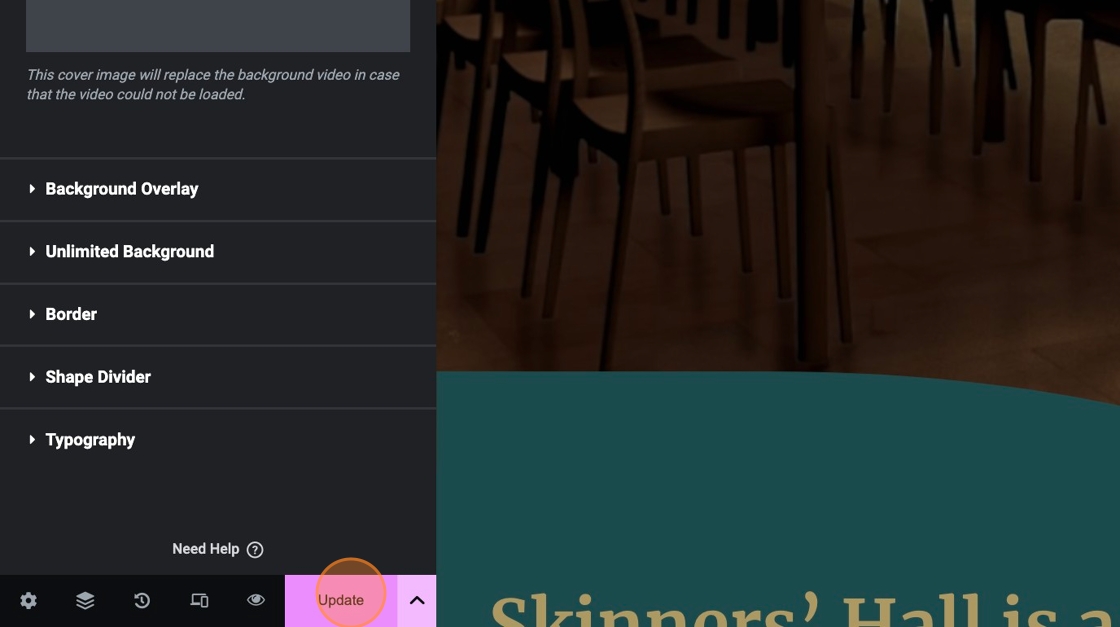
18. Make sure to click “Update” when you are finished.